
Tagged: n/ from front footwell
- This topic has 91 replies, 6 voices, and was last updated 2 years, 5 months ago by
 Jane Loveys.
- AuthorPosts
- 2 October 2021 at 11:42 AM #6349
 Jane LoveysMember
<p style=”text-align: center;”></p>
<p style=”text-align: left;”>Nearly all AOC members are aware that I am having to renew the A posts and someone the surrounding wood work on my well used P1. This has been ongoing now for the last two or three years. I am happy to report that the work required to make the N/S A post, and other relevant wood work is now nearing completion. I am now at the final stage of applying the paint. I have chosen to brush the paint on as the main paintwork on the car is in good nick. This is untried territotiry for me. I have preped, and spayed panels that turned out to be adequate for my requirement.. I am using up some cellulose paint bought some time ago for repair to the rear N/S quarter that I damaged during our 2012 Monte Carlo Classic Rally exploits. I have brushed onthe primer, cut it back, and now brushed on the black cellulose top coat giving several coats of paint. The last couple of days in the workshop have been spent cutting back these coats of paint and polishing. So far I have done the rear N/S quarter, and the roof edge just above the rain channel line. I have left the Monte sticker in place as it is part of the car’s history. I have the front edge door surround and door edge left to do. I will update with further photos etc as I progress. Once I have fitted the inside trim work on the drivers side will commence. All for now. Dave</p>

 2 October 2021 at 12:50 PM #6350
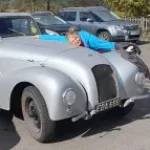 Ben StevensKeymaster
A brilliant update, and one that’s made me realise I’ve not posted anything about my P1 fastback for a while. I’m off out there now so will take some pictures and post later on today / tomorrow.
2 October 2021 at 1:08 PM #6351Ron DowleParticipantYes please Dave / Ben photos will be great. Brush painting, old style plenty of cutting back painting and more cutting back. interesting to think that Layland buses and coaches in southall used to hand paint all their vehicles. if you have plenty of red handy, how about a double decker next Dave ??
20 October 2021 at 7:54 PM #6496Jane LoveysMemberThis afternoon I have finished repairing the paintwork . This job proved more difficult and time consuming than I had expected it to, and although I have an acceptable finish the whole job is marred by little pinprick appearing in the finish which go through the finish to the undercoat. Don’t quite know why.⁶
20 October 2021 at 7:57 PM #6497Jane LoveysMember20 October 2021 at 7:59 PM #6498Jane LoveysMember 20 October 2021 at 8:02 PM #6499Jane LoveysMember
 20 October 2021 at 8:12 PM #6500Jane LoveysMember
As can be seen a nice deep shine, but viewing close up shows up all the flaws and of course the pun prices of grey. It won’t pa’s the concourse judges, but I doubt performance will be affected. When I have finished the other side, I will purchase the correct paint, and time allowing will do it again. Having the car back on the road is my main objective.
20 October 2021 at 9:59 PM #6501Tim WilsonParticipantLooks pretty d*mn fine to me, Dave – a job well done! Tim.
21 October 2021 at 7:52 AM #8054Jane LoveysMemberAppologies for my typing. Pun prices should read pinpricks and pa’s should read pass. Sorry. Dave.
21 October 2021 at 7:55 AM #8055Ben StevensKeymasterI rather enjoyed working it out, and agree with Tim – it looks great from where I’m sitting! I’ll look forward to seeing it out on the road soon.
21 October 2021 at 7:22 PM #8056Jane LoveysMemberPerhaps we should start a new section. ‘Guess what Dave meant to write’.⁷
29 October 2021 at 8:02 PM #8058Jane LoveysMemberThe P1 n/s reconstruction is coming along after a slow, tentative start. I have had to make repairs to the trim panels, as can be seen in the photo. I hope I have improved the insulation a bit as well. In the last photo the bottom n/s side panel is glued and screwed into place. Note the door trim is also being installed as I go.
29 October 2021 at 8:06 PM #8059Jane LoveysMember 29 October 2021 at 8:08 PM #6540Jane LoveysMember
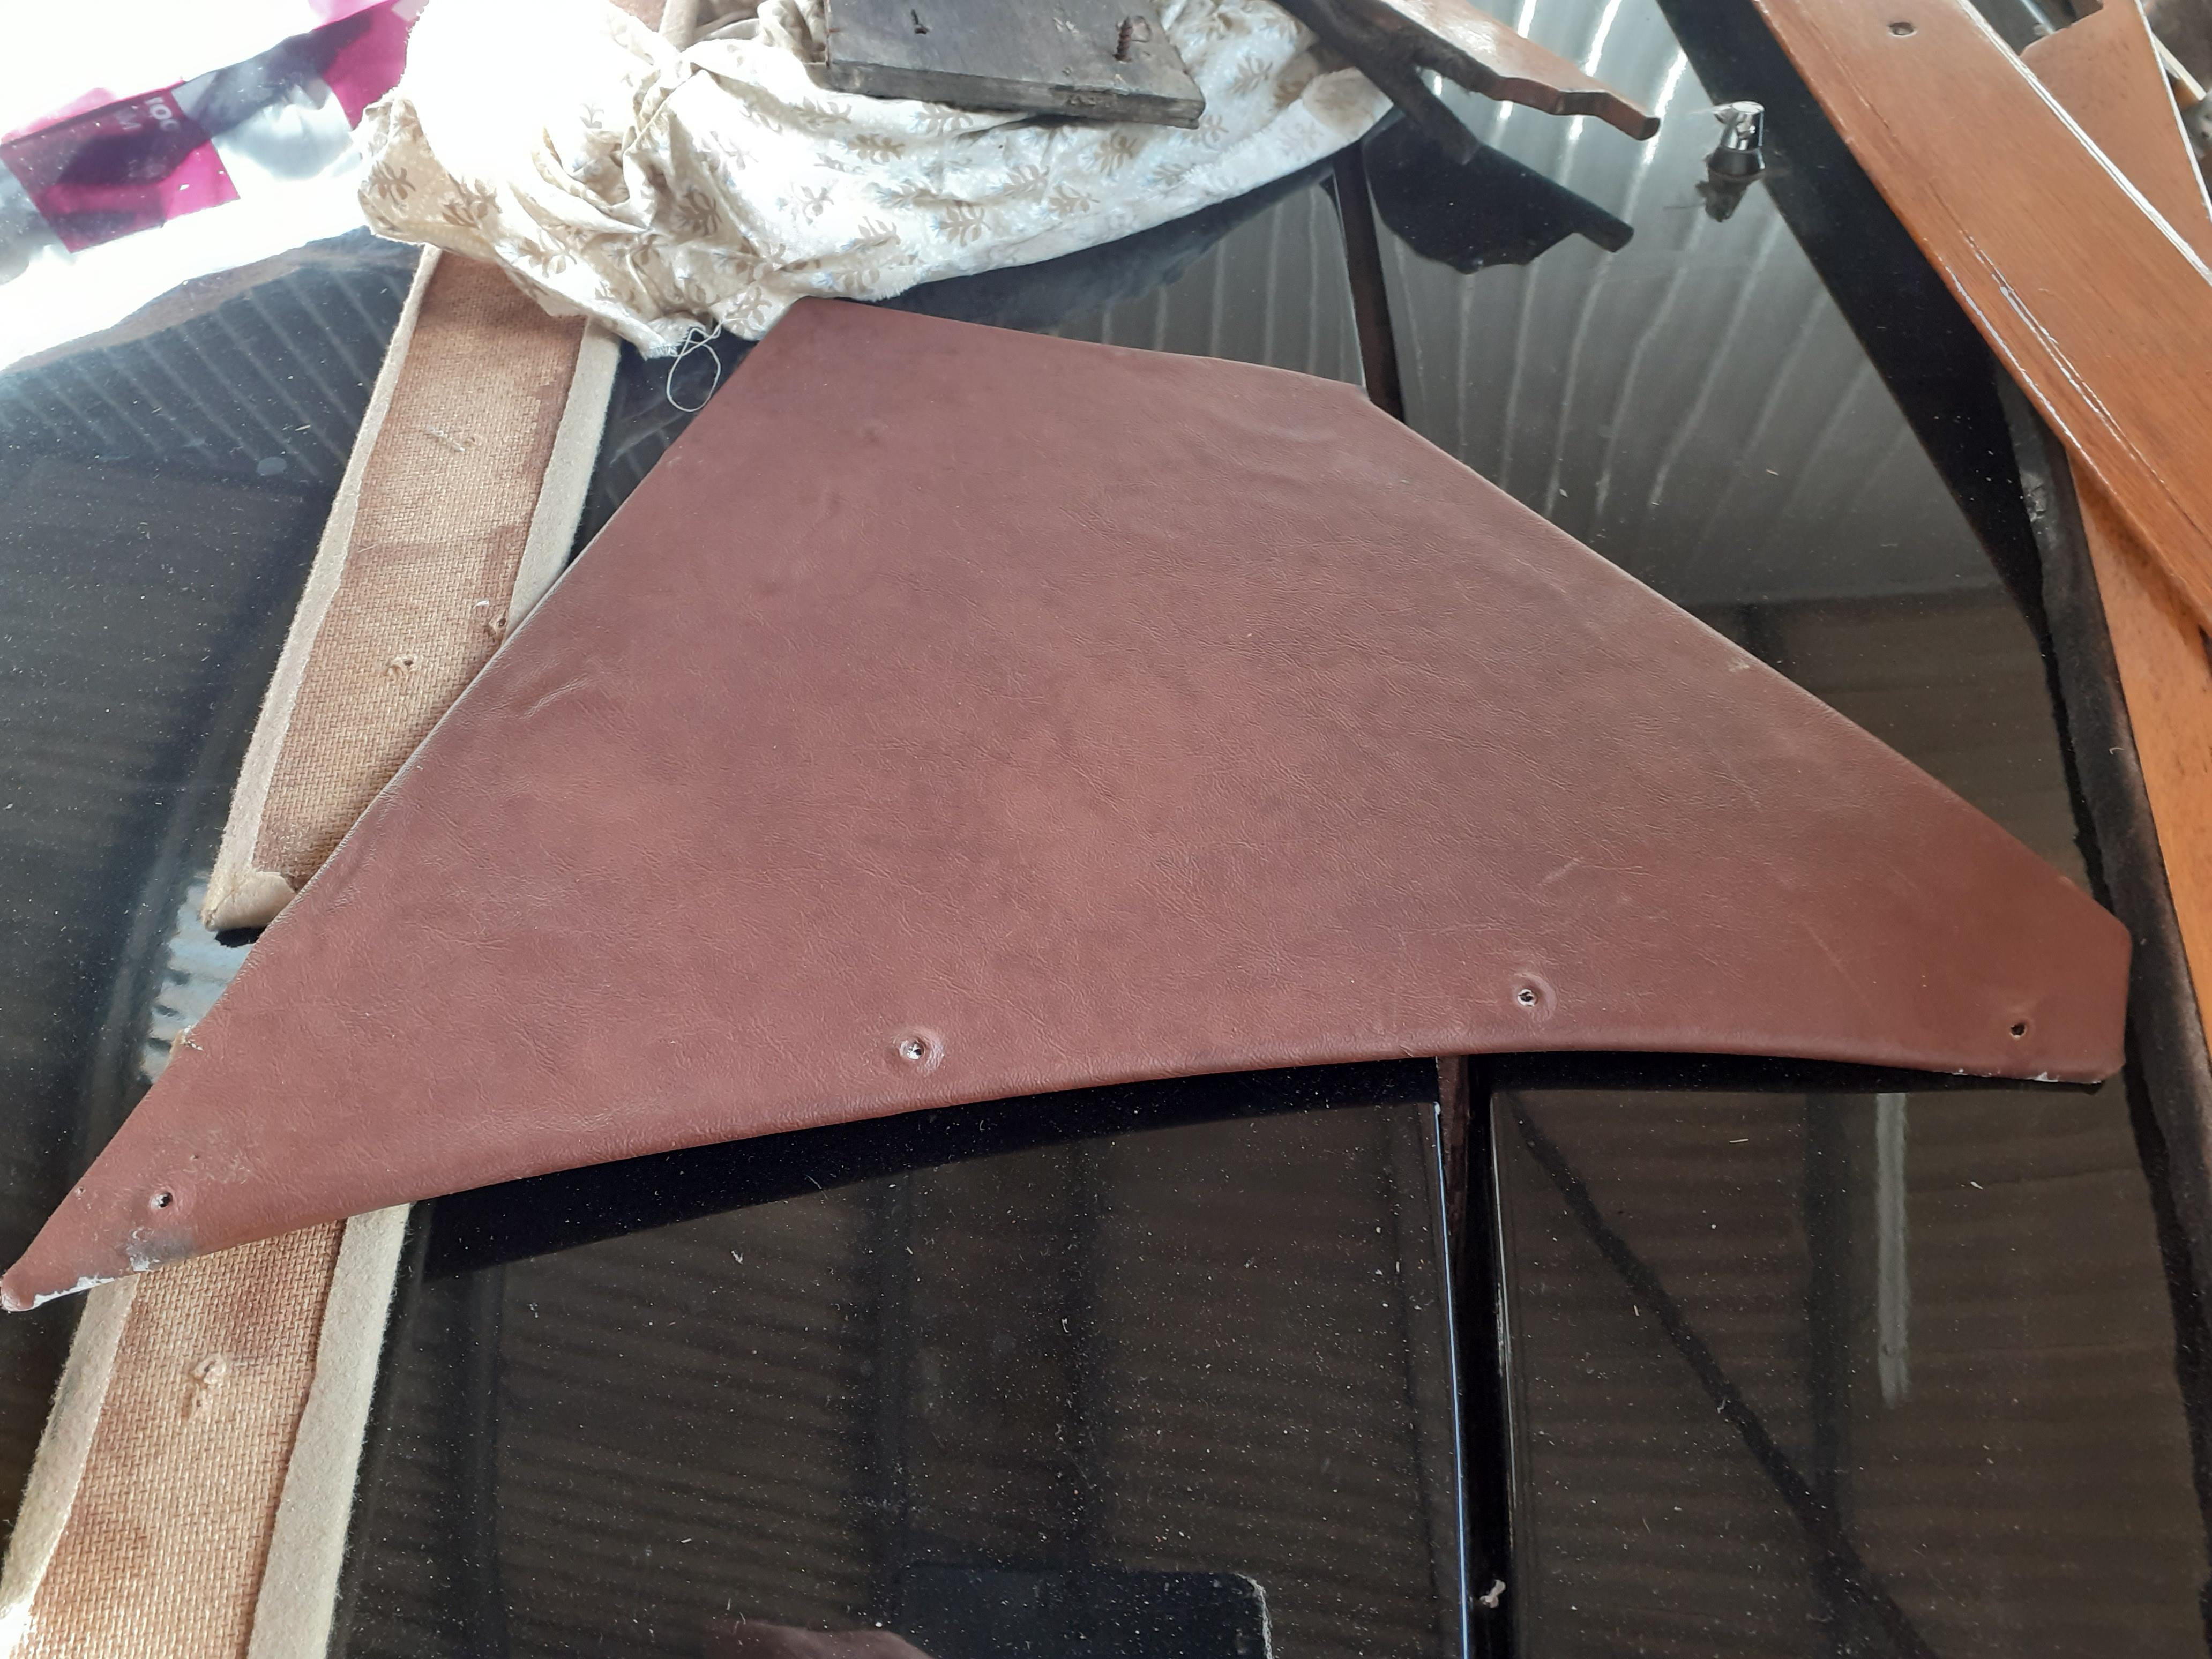
- AuthorPosts

- You must be logged in to reply to this topic.